How to Change a Photo in a Flyer Template in Adobe Photoshop (.PSD)
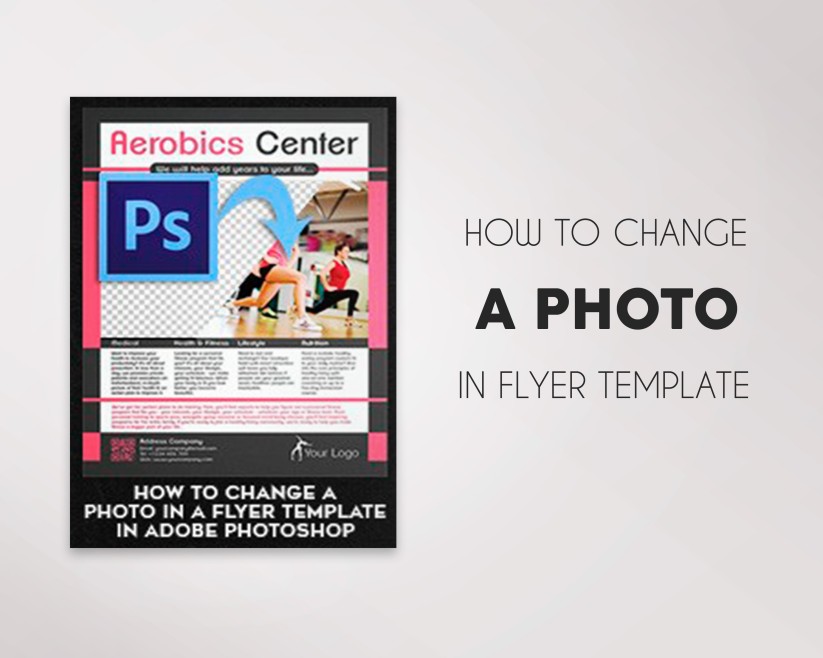
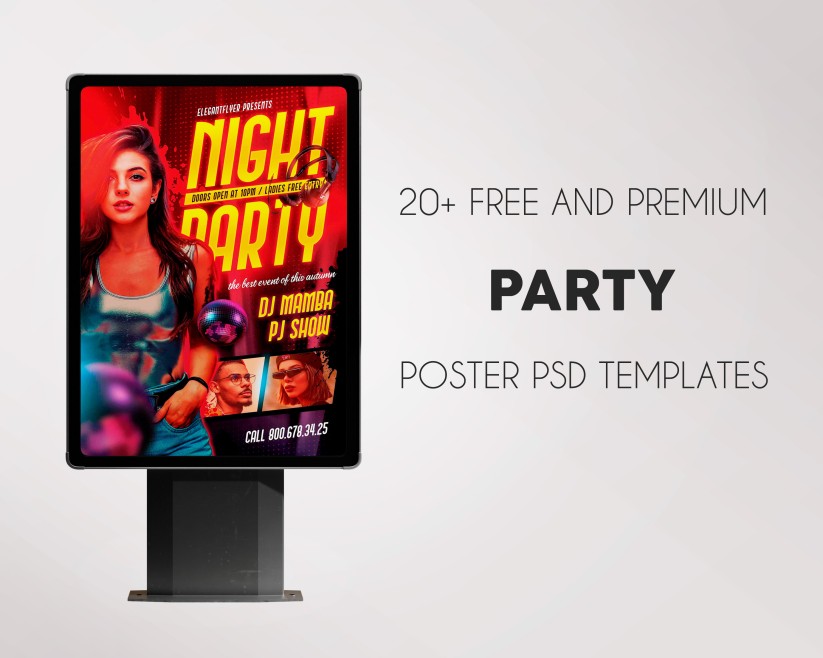
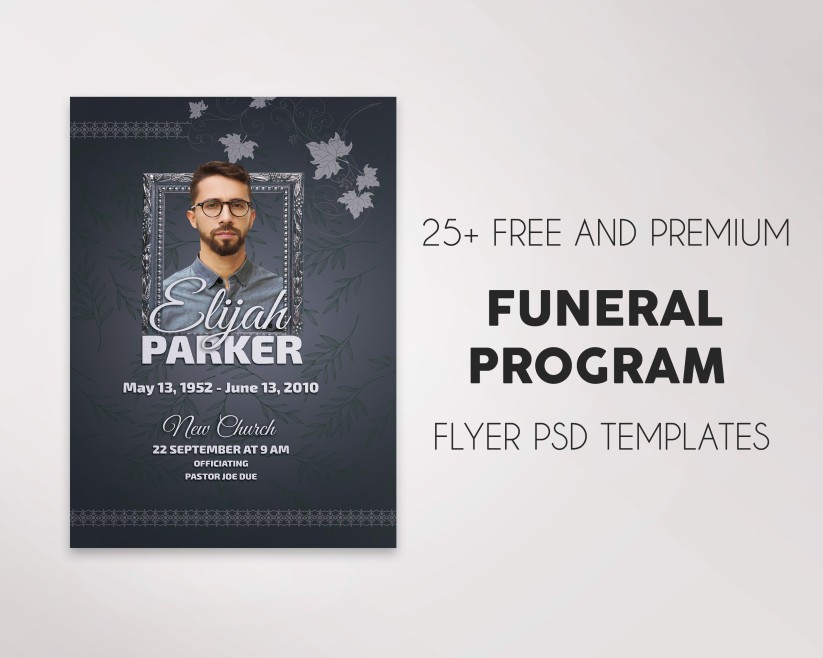
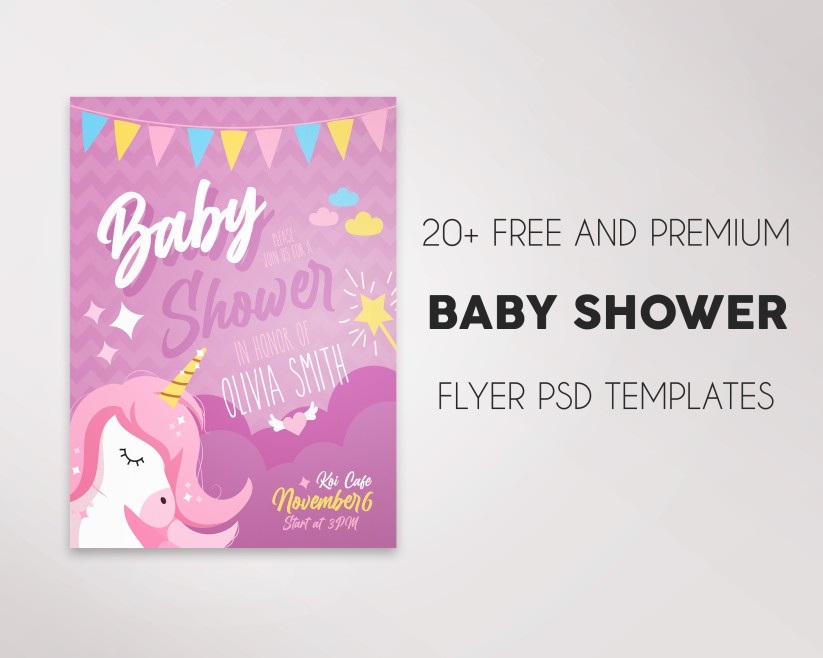
On our website there are a lot of flyer templates for different occasions and goals. You can find there business flyers, party flyers, templates for special occasions, festivals, anniversaries and other events.
And of course, after downloading any free or purchasing any premium flyer it is important to make it perfect exactly for your idea. All of them were made in Photoshop. It is a multipurpose program that can help you to create the flyer of your dream and make any editions.
Don’t give up if you don’t have enough experience in Photoshop. You can find a lot of simple and interesting materials on our website how to make it easily and quickly. It is possible to change photos, texts, add different objects and patterns.
Firsts of all, it is necessary to change photos on it and make it recognizable exactly for your kind of business or for the necessary event. In this article we were trying to explain you as easily as possible how to do it. You can follow our instructions and have the necessary flyers you want. Here you can find a lot of advice and basic methods how to make your work in Photoshop easier, save a lot of time and get only positive results!
If tell you briefly here you will learn:
- What are there in our templates.
- Why “readme.txt” is really very important.
- How to open a photo and put it to the right place.
- How to enlarge photo while maintaining the proportions.
And of course you will get advice on choosing the desired photo to a flyer. We are sure that the ultimate success is made up of little things during the whole way. That’s why it is very important to pay your attention to the details.
We hope our tutorial can be useful for you and help you in the necessary and important moments. Download any templates form our website and practice as many times as you need to become really successful graphic designer. No matter in you just start your career or just want to improve and refresh your skills, this article can show you some interesting ideas for future. Enjoy!
Purchase and Download
Step 1
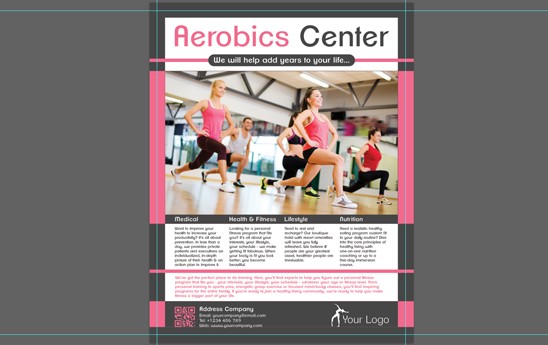
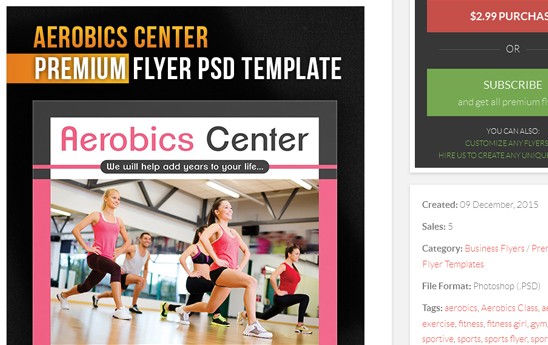
Start from choosing an appropriate flyer from the website www.elegantflyer.com . For this example we will use the Aerobics Center flyer (/free-flyers/aerobics-center-flyer-psd-template-facebook-cover/).
Step 2
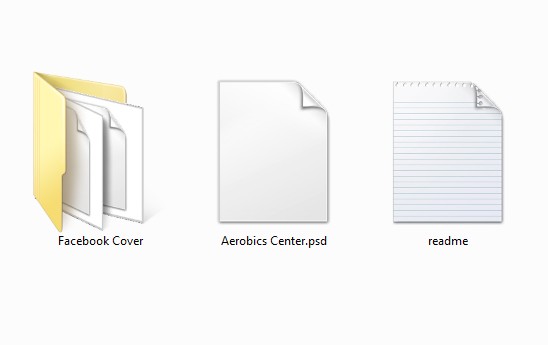
After purchasing and downloading the flyer it is necessary to extract it from archive. Given template consists of three Photoshop “.psd” files (flyer, Facebook cover and an avatar for Facebook) and one file for reading “readme.txt”.
Step 3
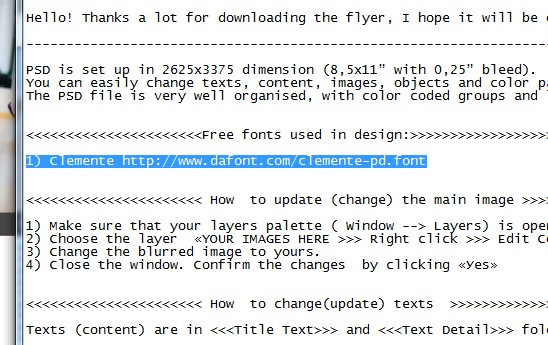
Before using a template it is desirable to read the “readme.txt” file. There you can find a lot of important information, particularly you can get know the fonts used in your flyer.
Step 4
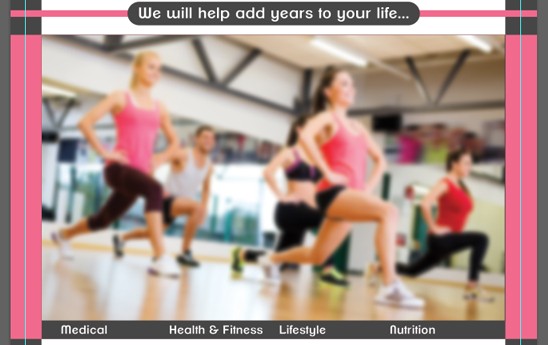
Open the flyer template “Aerobics Center.psd” in Photoshop. Pay attention that the image in this flyer is blurred.
Step 5
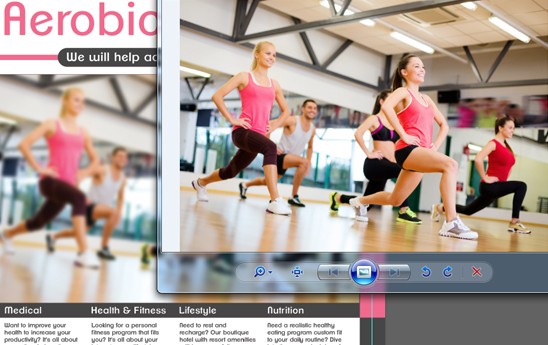
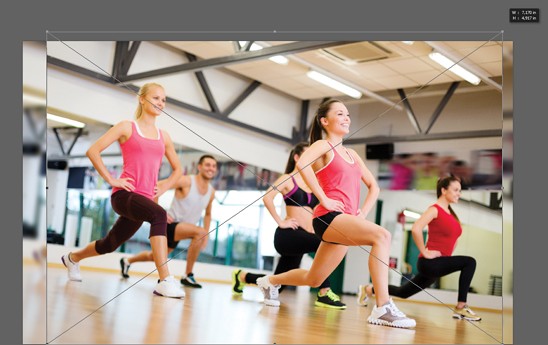
Now a photo for our flyer will be necessary. It should be dedicated to fitness, also bright and in landscape orientation.
Editing template
Step 1
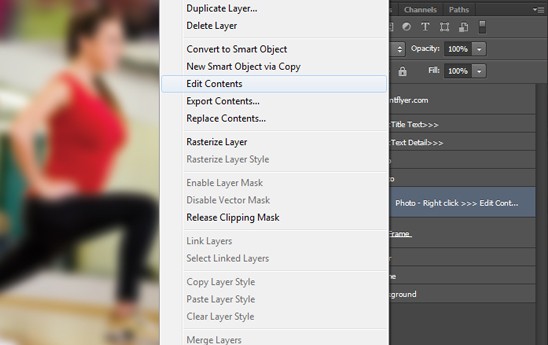
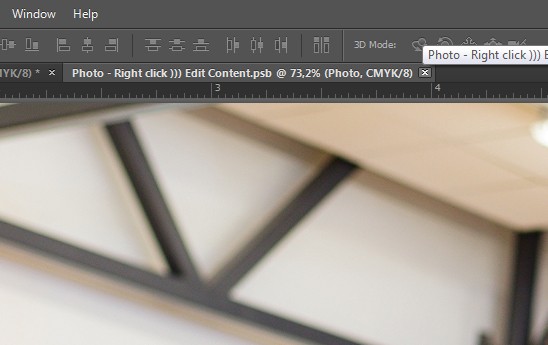
Find the folder “Photo” in the “Layers” tab in which there is an image with the name “Photo – Right click >>> Edit Content”. As you see from the title, for photo editing it is necessary to press right mouse on the layer and select the item “Edit Content”.
Step 2
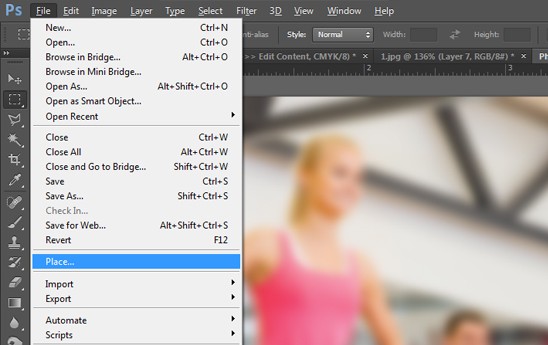
Open the photo “File >> Place…”.
Step 3
Pull the left button on the mouse of the angle of photo to enlarge it. Fill the entire space. While maintaining the proportions press the Shift key.
Step 4
Close the tab with the image.
Congratulation! You have just updated the photo in flyer template. Nice work!
